Back to Blog
Navigating the Admin Panel
When managing an SCA solution, a good admin panel is an important part of the user experience as an admin. This article is part one of a two-part series, and it aims to provide a gentle start, or introduction, on how to use the Okay admin panel. The following sections will discuss some useful pages and their functionalities.
Welcome
Okay provides an admin panel (a web application) that monitors transaction and security alerts. The admin panel serves as a reporting system for - you guessed it - system admins and developers. It provides insights as to how many transactions were successful, and provides error reporting for those transactions that failed due to something specific.
The Okay admin panel also allows for tenant management, security configuration, and different settings such as customising your application brand colours.
Dashboard
When logging in to the admin panel, you first encounter the dashboard. The dashboard provides insights into the current status of past transactions and security alerts as well as ongoing transactions.

The graph section shows the ratio between timeouts, errors, and successful sessions. The dashboard allows for different reporting timelines. The dropdown in the top right corner allows user to select their preferred period. You can choose between daily, weekly, monthly, and yearly time frames.
The server status section contains an overview of the current status of Okay servers.
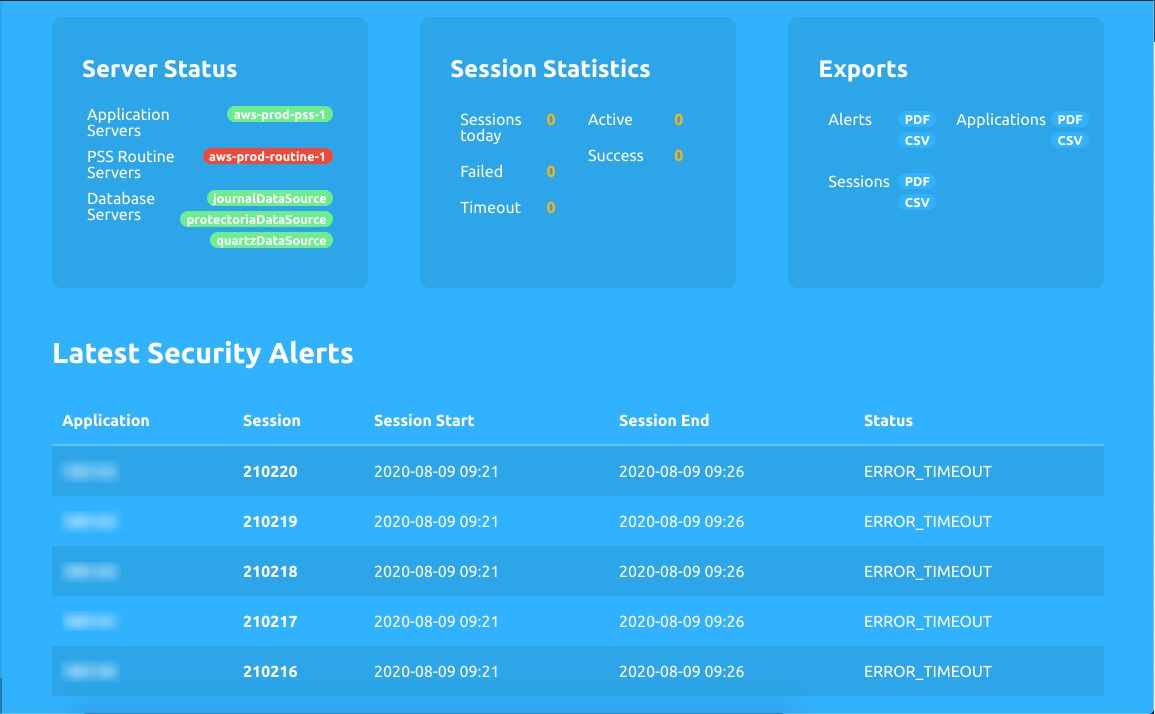
Session statistics reports the total number of sessions for the day, the total number of successful sessions, the total number of currently ongoing or active sessions, the total number of timed out sessions, and the total number of failed sessions due to security exceptions. Note that in this context, a session refers to an ongoing transaction.
The exports section provides an option for exporting an overview of Alerts, Applications, and Sessions in CSV or PDF format.
The last section on this page is the “Latest Security Alerts” section that provides insights into the latest alerts that occurred when processing user session/transaction. This section gives a quick overview of the most recent security exceptions that happened for various sessions.
Applications
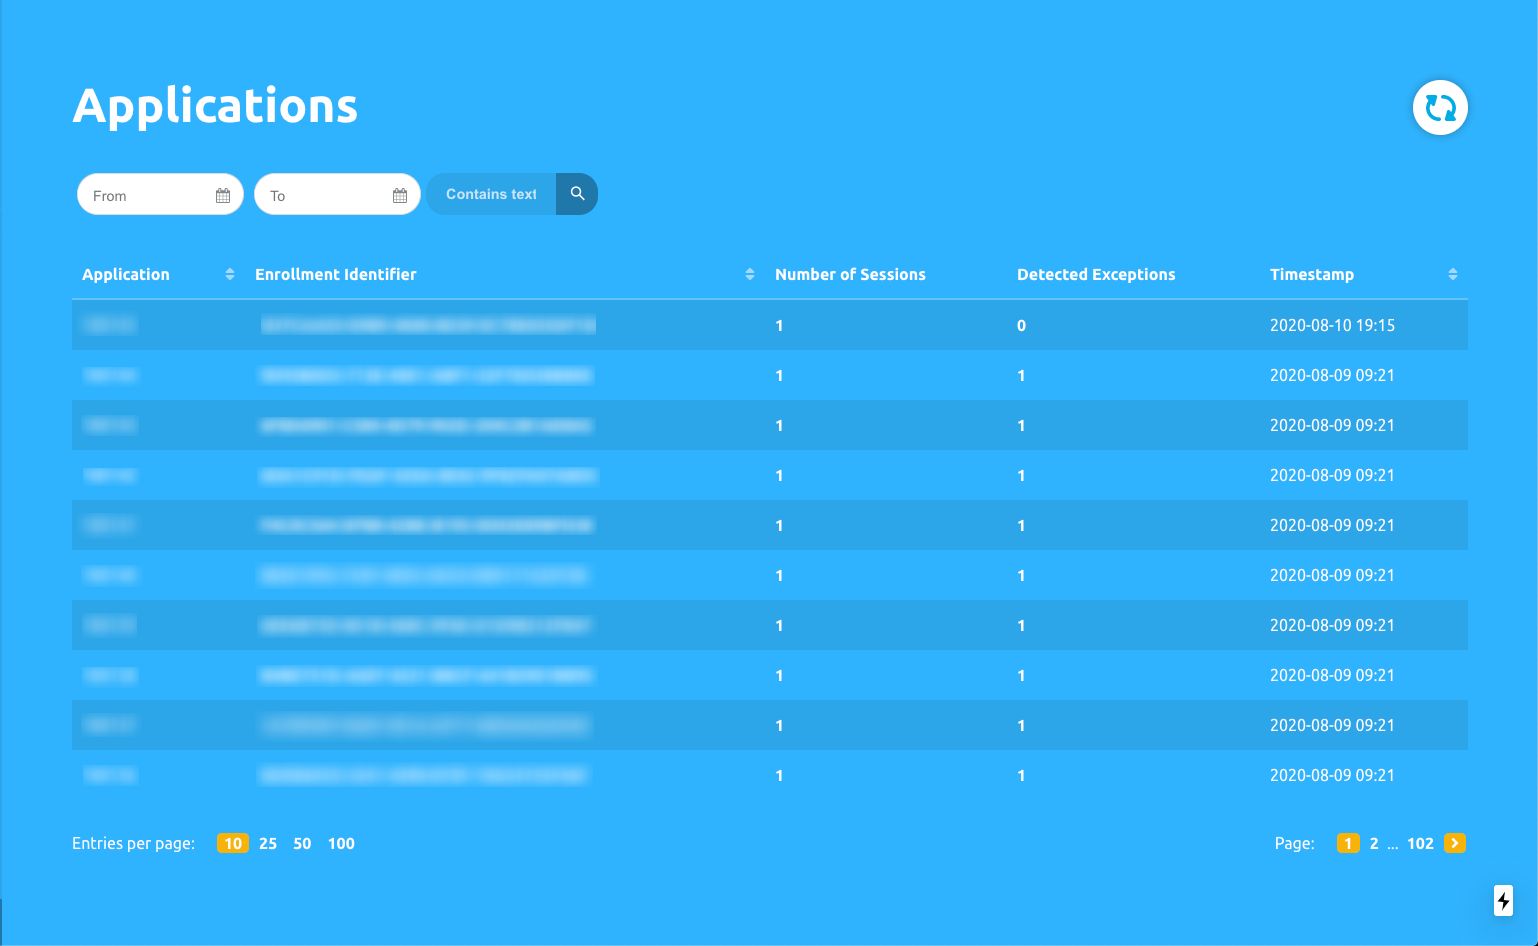
The applications page provides an overview of the application installed with the Okay SDK. It shows a unique application ID, allows every tenant to see the enrollment identifier associated with a particular user’s device, number of sessions associated with that application, and detected exceptions for that application as well as a timestamp.
Clicking on the Enrollment Identifier reveals more details such as when the particular app was registered and when was the last activity.
Sessions Page
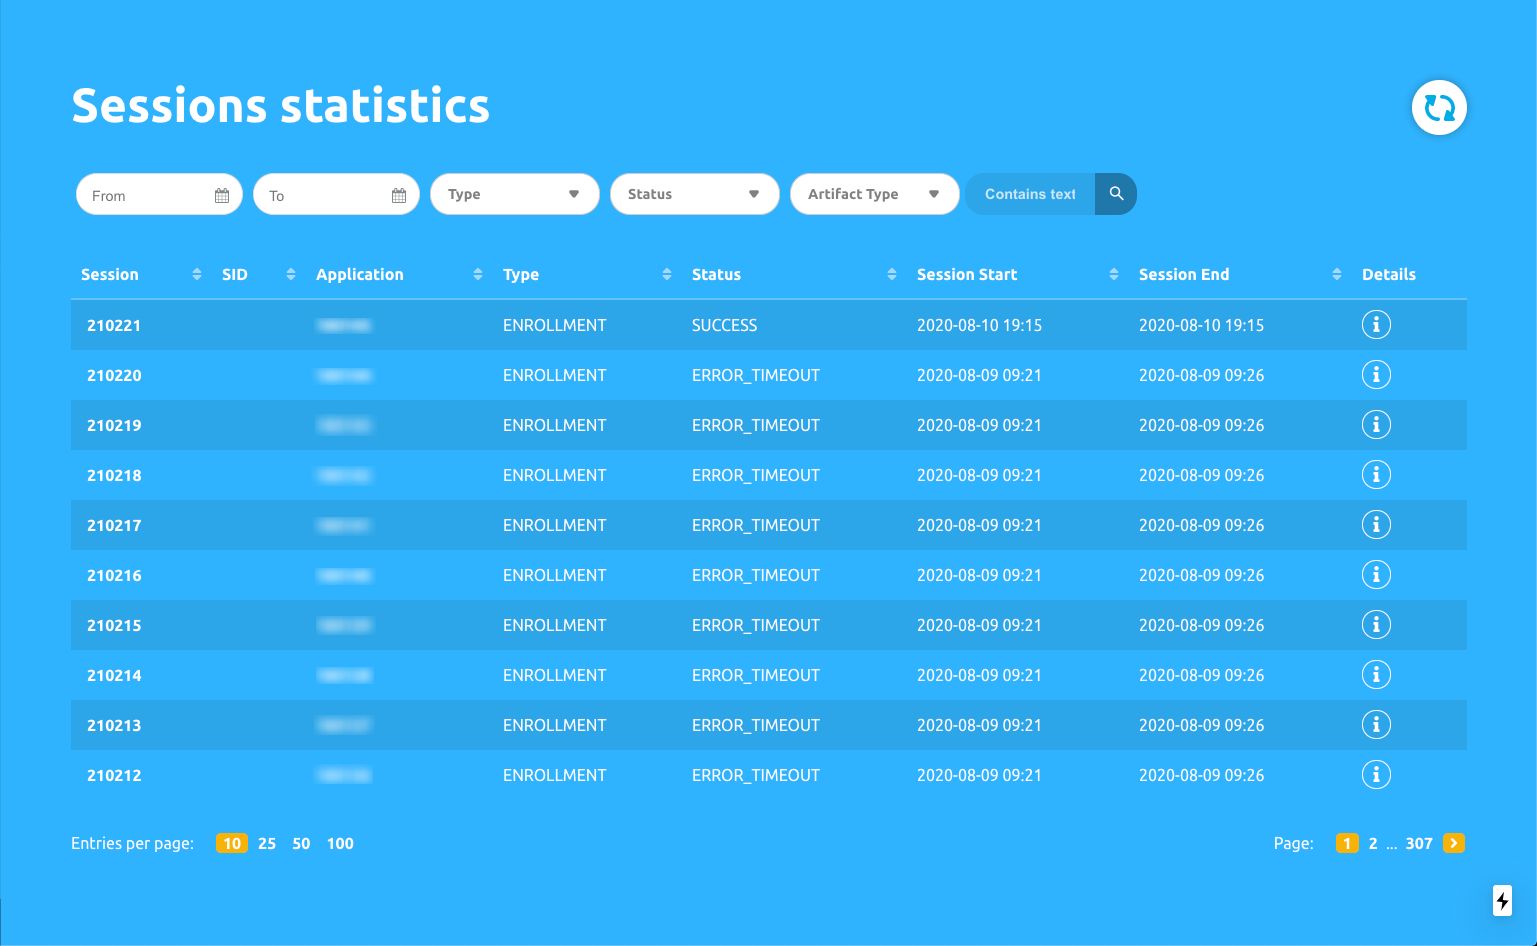
Sessions statistics serves as an overview of all sessions with their details.
Each session represents part of the whole process of authorizing and confirming transactions.
It shows a unique session ID, external session ID (SID), application id (id of an app that initiated a session), type of session initiated, the status of the session along with columns that display session start and end timestamps.
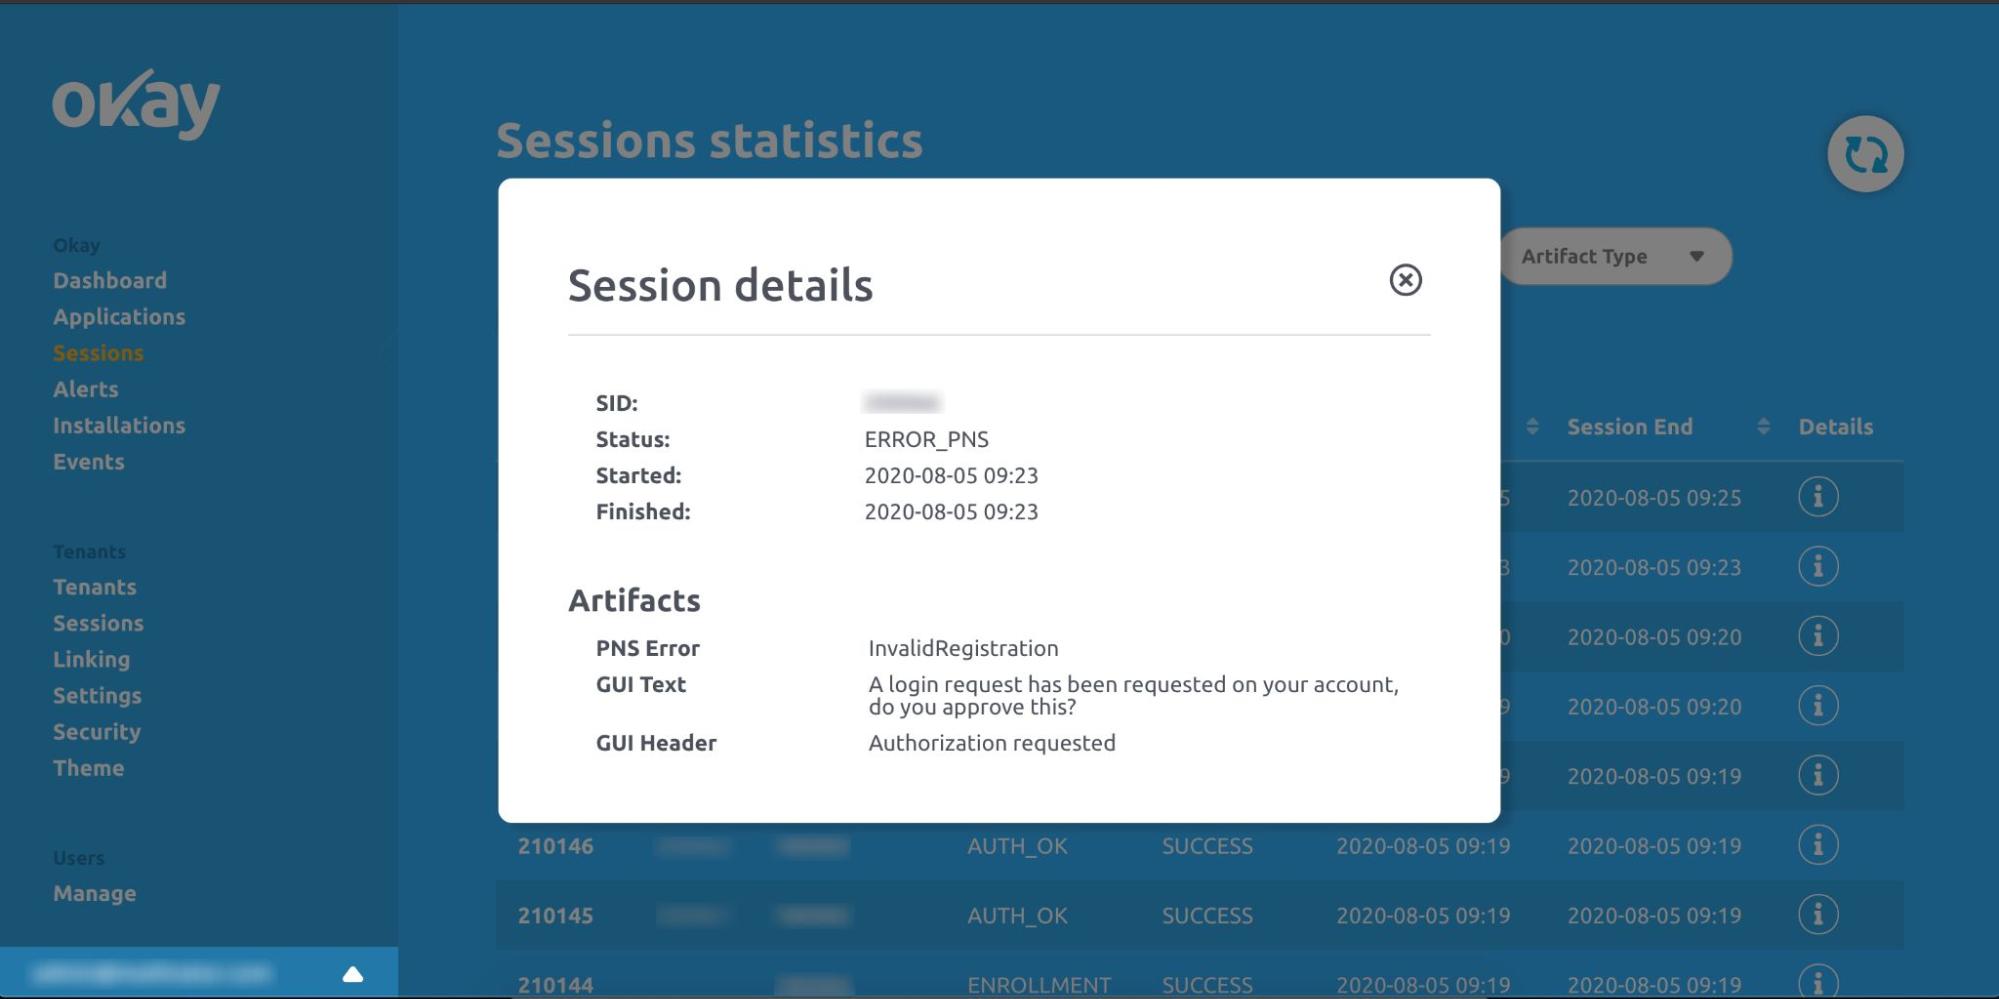
Clicking on the session ID column displays a detailed dialogue containing vital information about the session. The information displayed by this dialogue, as shown below, allows you to have access to transaction details that were sent to a user’s device as well as any errors that may have occurred during the session or transaction. You can also get more information by clicking the details column of the session statistics table as well.
Alerts
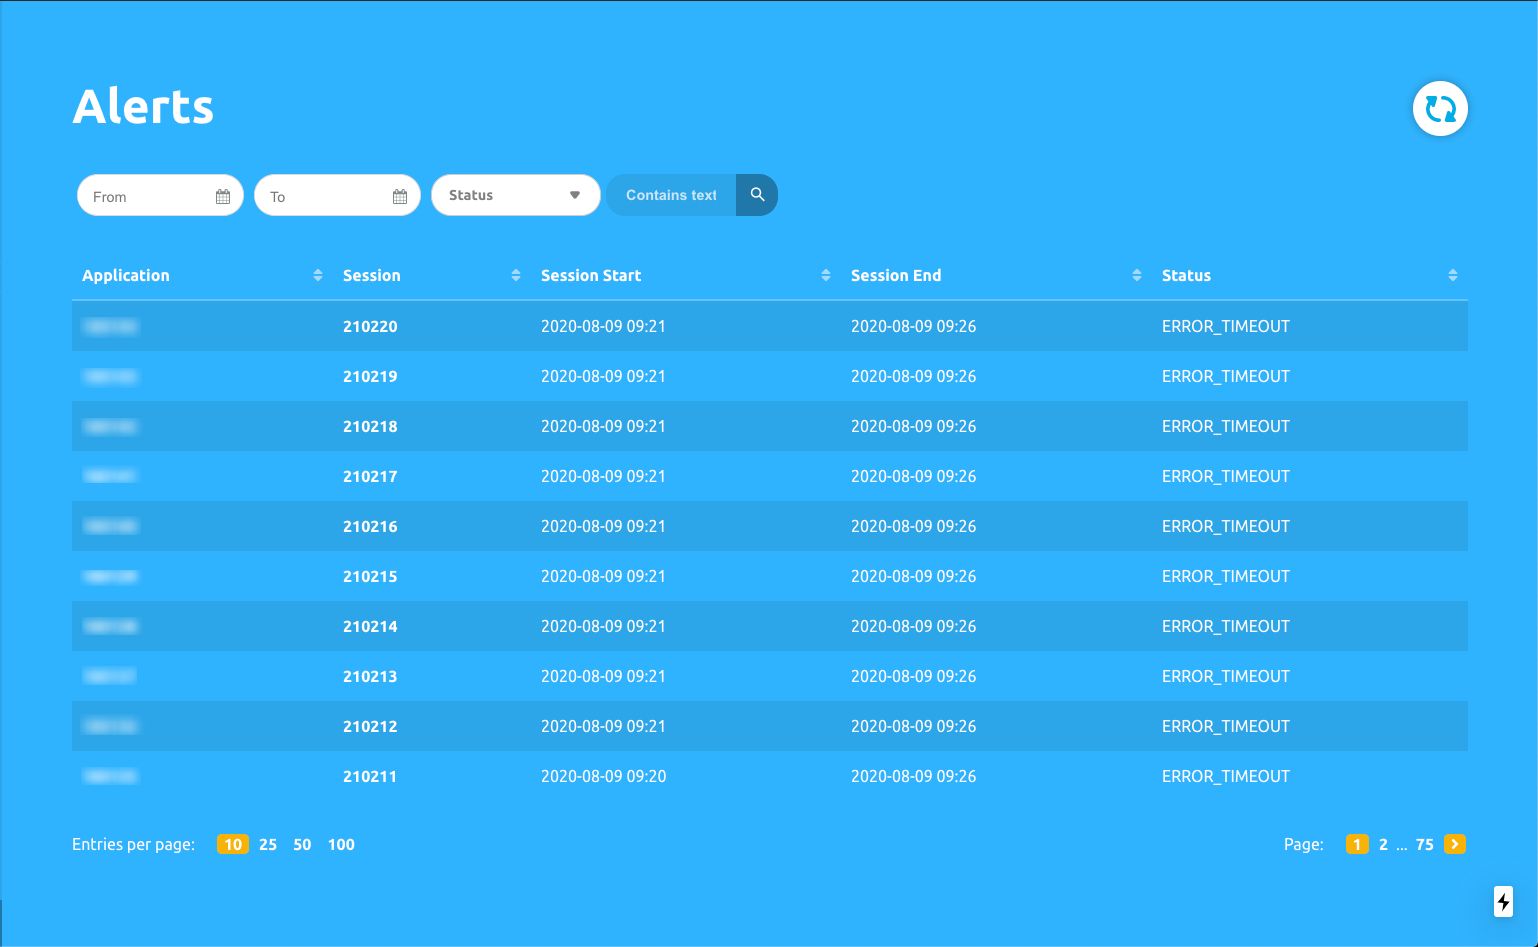
The alerts page is there to provide details about the latest errors that occurred in different sessions. It provides an ID of the application that encountered the error, id of the session during which that error happened, status of the alert (the type of the error that caused the alert) as well as session start and end time.
Events
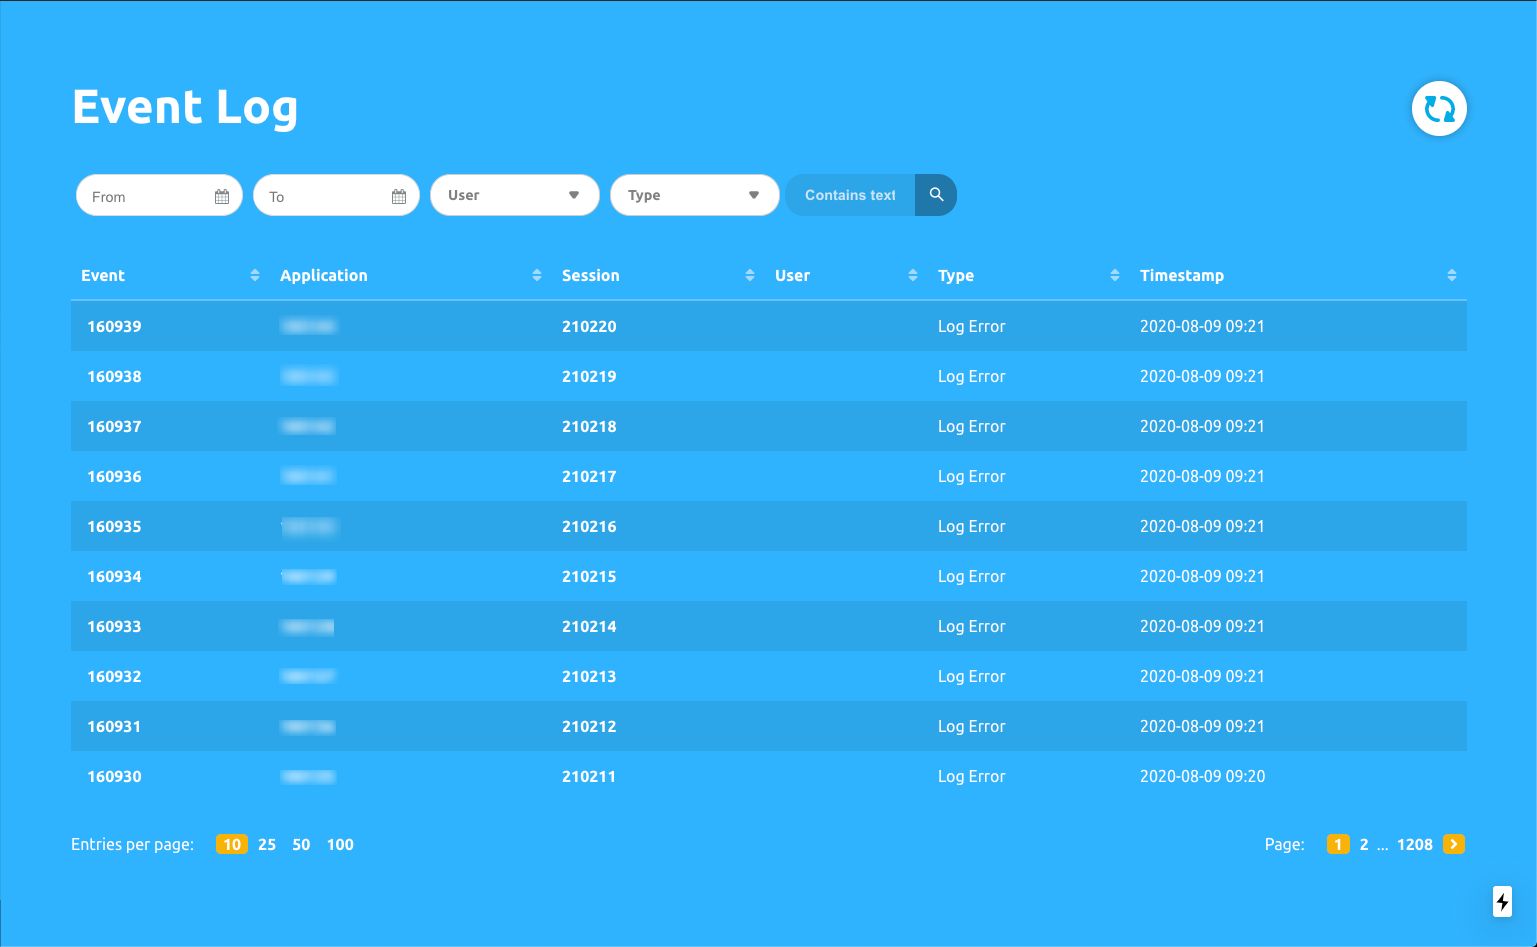
The events page provides insight into all types of events that happened during different sessions. It provides the ID of the application and session in which the event appeared, time of the event, and the specific event type. Event types may vary from creating a new user or updating existing user details to the step by step process of authorization a transaction on the users’ devices.
Clicking on the Event ID in the Event column the event data is expanded, and Event Log details, information about the watermark, the option to download the event log as a JSON file, and link to the Event Actions page are shown.
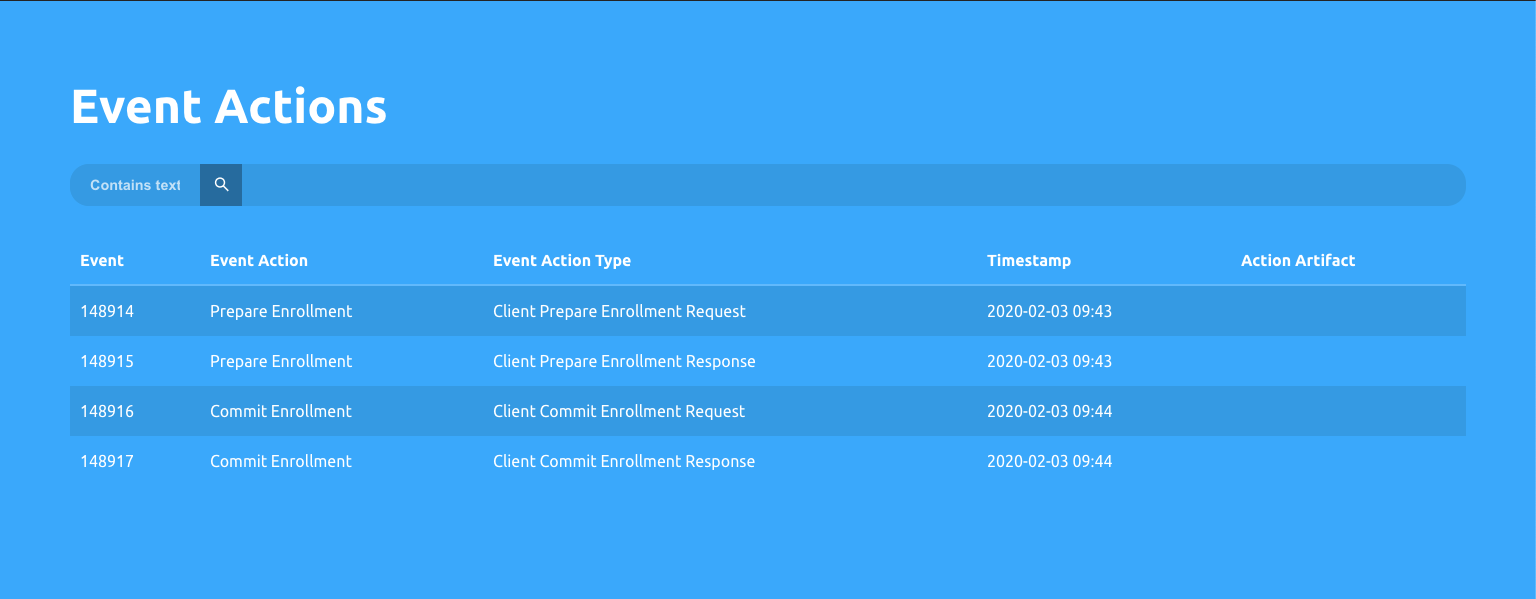
The Event Actions page provides information about a particular event in detail. It shows event actions (from waking up to authentication), action type (steps to authenticate), timestamp of every step, and action artefact if there were any.
Sign Up for Our Newsletter
Unlock updates, insights, and exclusive content delivered to you.
We hope you found this article very helpful. If you are having any issues navigating our admin panel, please feel free to contact our support team at support@okaythis.com.
With the admin panel under your belt, be sure to check out the second part of this 2-part series, where we discuss how to customise the Okay solution to your brand.